After a successful product annotation successfully annotating enough products, you are able to create and train a machine learning prediction model. This model determines all annotations for all products by itself based on user-annotated products. A part of these annotations is the training set. Later the full user annotations are compared with the model annotations to get the model prediction accuracy. More precisely, the more the model predicts correctly the higher the accuracy. The model will learn a mapping between some selected product attributes (the training attributes) and your new attribute. It will then be able to select the most likely attribute value for each product based on your annotations and the information available in the training attributes. This means an attribute value can be assigned not only to the products you didn't manually annotate, but to all the ones yet to arrive to your product feed.
Table of Contents:
| Table of Contents | ||
|---|---|---|
|
Model Creation
To create a model you need at least one product annotation for the new attribute. Note that for a good prediction we need at least round about 10 percent of products to be annotated.
How many Products are Enough to Train a Model?
The answer to this question depends heavily on the complexity of the attribute the model should learn, as well as on the diversity of your products and the informativeness of the selected training attributes. It is best to iteratively annotate more and more products and train new models until the desired performance is reached. There are, however, a couple of things you should keep in mind:
- Even if you have annotated thousands of products, if a certain attribute value is assigned to just a few of them, the model would not be able to learn any useful patterns for it.
- In this case, you might consider grouping certain values together or even removing them.
- We set a bare minimum of 10 products per attribute value, any value with less annotations would simply be ignored by the model.
- If less than 2 values have enough annotations, there would be no use for a model at all – creating one would always fail.
Model Creation
...
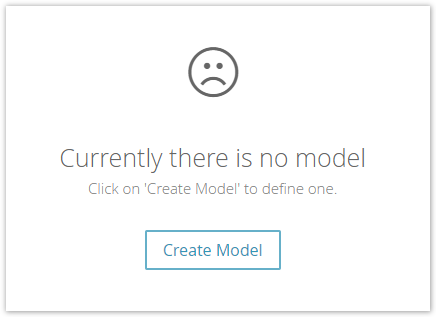
In the Annotation view, In the Annotation view on the right-hand side, you see a text that says, 'currently "Currently there is no model exists' " and a button to ' create a new model.'
Set Model Properties
Clicking on the "Create Model" button opens a modal window. In this window you have to set the training attributes for this model. the new model. An example window is depicted below.
| Panel | ||||
|---|---|---|---|---|
| ||||
You should select only the most informative attributes. These could be:
Select the attributes which
Remember, it is the right choice. This secures that the model uses the same knowledge you've used before.Example: |
To find the attributes you can use the several filter settings. You can search for
...
After the model was successfully created, a model card is shown. It contains the following UI elements:
- Name:
The model name; initially set as a combination of attribute name + the suffix "Model" - Last Modified:
Date indicating when the model was created or changed (retrained) the last time. - Status:
Two states are possible:- Active: Model was applied to the data feed.
- Inactive: Model was not applied, deactivated or invalid/incompatible (see model states below).
- Performance:
Contains some statistics The results of the model evaluation (see performance metrics below) - Trained Attribute Set:
This list contains all attributes which were used to train the current model. - Retrain Model:
Opens the same modal window like after clicking the "Create Model" button. You can either use the same set of training attributes again or choose a different set. - Delete:
Removes the model permanently. All predicted annotations get lost. - Apply to Data:
Applies the created model to all products for the new attribute. Afterwards, all products have a product annotation.
...
Representation in the Workbench
Performance Metrics
...
In the model performance section, you see three metrics - the model accuracy, the number of matching predictions (same prediction as annotation) and the number of annotated products the model has been trained on. Note that the percentage of the last is determined based on the number of products currently in your product feed and can hence be over 100% if some products were removed.
We try to train the best possible model despite the potential scarcity of annotated products. Therefore, we first split the annotated products in 5 different ways, each containing a training data set of 80% of the products and a test data set of the remaining 20%. We measure the achieved model accuracy on each of these 5 splits, both on the training and test data sets, and present you the averaged result. Then, we train the model on the entire data set containing all product annotations and present you the amount of matches and mismatches finally achieved.
Measuring model accuracy, however, is not a straightforward task. One way is to measure the percentage of the annotated attribute values the model predicted correctly. But imagine you have assigned the same attribute value to 80% of the products you annotated. Then a model predicting that attribute value independent of the product would be 80% accurate. Despite the high accuracy, that probably isn't a very useful model.
Instead, for each attribute value, we consider the corresponding annotated products and measure the percentage of these on which the model prediction was correct. The final accuracy score is then the average over all attribute values. In the scenario above, considering there are 2 possible attribute values, the model would achieve 100% and 0% accuracy on these. This would result in a final accuracy of 50%, which better expresses that the above mentioned model is as well suited for determining the correct attribute value for each product as tossing a coin.


