With the aid of the Annotation view you are able to assign the attribute values, created in the Attribute Creation view, to your products. The following sections explain what you have to consider before, and what to do during the annotation process.
Table of Contents:
Initial View
When you enter the Annotation view for the first time you can see the following elements:
- In the left corner a button to return to the Attribute Creation view
- A statistic board which is updated after every product annotation
- The "Start Annotation" button
- A button to externally upload an existing annotation
- An info text which suggests to you to begin the annotation process
Clicking on "Start Annotation" opens a modal window where you have to configure some settings. These settings help you during the annotation process, to decide which attribute value you should assign to each product. Read more about the settings on the page Annotation Settings.
Annotation Process
When you start the annotation process the view looks something like this:
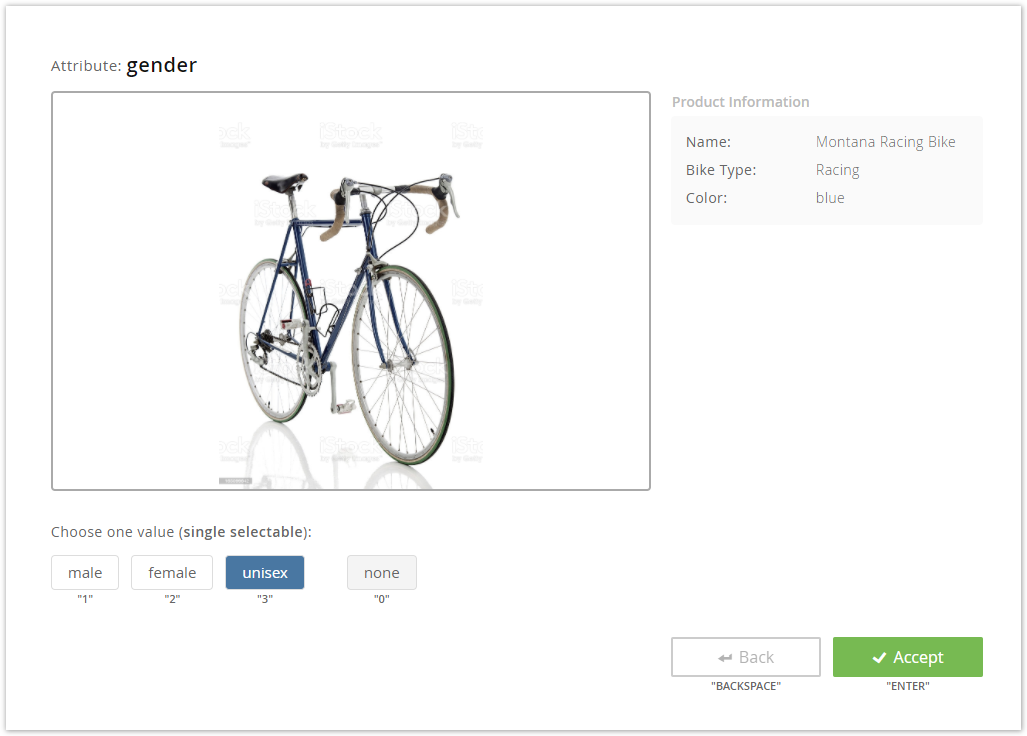
On the top you see your created attribute name. Below, the product image is displayed along with further product information which you set in the Annotation Settings.
Furthermore, the view control elements are available:
- Attribute value selection:
Choose one or multiple values from the created attribute.
If no value matches the criteria for the current product, you can also select the value "none". - Accept annotation:
Saves the value selection(s) and displays the next product to annotate. - Go to previous annotation:
Shows the last annotated product. It can be used to change an older annotation value.
Did you know?
You can also annotate the products without using the mouse. A label is displayed below all the control elements (e.g. "1" or "ENTER"). If you click this key on your keyboard the corresponding value is selected.
This feature saves time and is more comfortable to use.
Note
You should annotate at least 10 percent of your products to get proper prediction results from the annotation model.
Stop Annotation
You can stop the annotation process anytime. There are multiple ways to end the annotation.
- Clicking on the "Stop Annotation" button. This is the cleanest and the most preferred way.
- Changing the view. While the annotation is running a modal windows pops up if you want to leave the view. It gives you the choice to stay and continue the annotation or change the view which automatically stops the annotation.
- All products were annotated. A "Done" notification appears, and you have to click on "Stop Annotation" to see the results.
After stopping the annotation you are able to create a prediction model. As mentioned before, the rule applies: More product annotations result in a more precise prediction.
Upload existing Annotations
...