With the aid of the Annotation view you are able to assign the attribute values, created in the Attribute Creation view, to your products. The following sections explain you what you have to consider before and to do during the annotation process.
Table of Contents:
Initial View
When you enter the Annotation view for the first time you can see the following elements:
- In the left corner a button to return to the Attribute Creation view
- A statistic board which is updated after every product annotation
- The "Start Annotation" button
- A button to upload existing annotation externally
- An info text which suggests you to start the annotation process.
Clicking on "Start Annotation" opens a modal window where you have to configure some settings. These settings help you during the annotation to decide which attribute value you assign to the product. Read more about the setting on the page Annotation Settings.
Annotation Process
When you start the annotation process the view looks some like this:
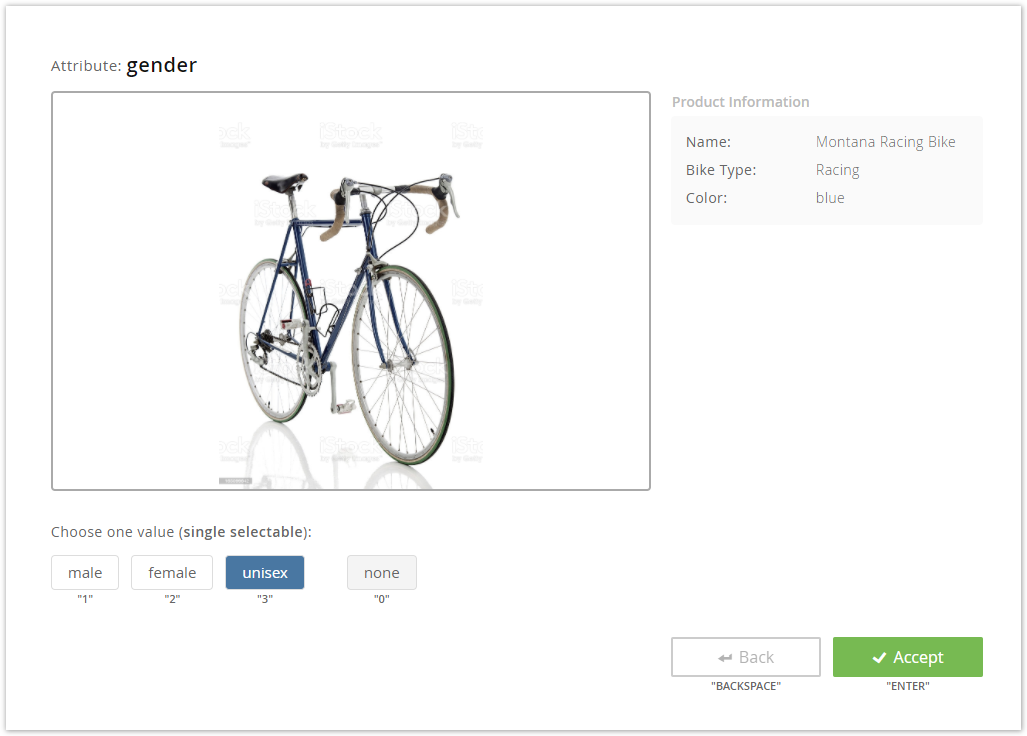
On the top you see your created attribute name. Below that you see the product image and further product information which you set in the Annotation Settings.
Upload existing Annotations
...